

I see phones with bubbles under their screen protectors all the time, and I know having them can be incredibly frustrating. These tiny imperfections not only blemish the appearance of your device but can also interfere with the touch sensitivity, making it difficult to use your phone efficiently.
Fortunately, removing bubbles from a phone screen protector is a straightforward process that can be accomplished with a few simple tools and techniques.
Whether you’ve just applied a new screen protector or you’re dealing with lingering bubbles from an old one, this guide will help you achieve a flawless finish.
Table of Contents
- Why You Must Have a Bubble-Free Screen Protector
- Common Causes of Bubbles in Screen Protectors
- Essential Tools for Removing Bubbles from Screen Protectors
- Step-by-Step Guide to Remove Bubbles from Phone Screen Protector
- Additional Tips for a Successful Screen Protector Application
- Dealing with Bubbles Caused by Dust or Debris
- When to Consider Replacing Your Screen Protector
- Choosing the Right Screen Protector
- How to Prevent Bubbles When Reapplying a Screen Protector
- Maintaining a Bubble-Free Screen Protector
- What to Do If Bubbles Reappear
- FAQs
- Conclusion
Why You Must Have a Bubble-Free Screen Protector
A well-applied screen protector should preserve the touch sensitivity of your phone’s screen and provide a clear, unobstructed view. Bubbles can distort the display, making it difficult to see what’s on your screen, especially in bright light. Moreover, they can collect dust and dirt over time, potentially causing scratches on your screen if not addressed.
Common Causes of Bubbles in Screen Protectors
Often, bubbles form when the screen protector is applied hastily or in a dusty environment.
Misalignment during the application process is another frequent culprit, as are trapped air pockets that result from applying the protector unevenly.
Additionally, using a screen protector that doesn’t fit your phone’s screen perfectly can lead to bubbles around the edges.
Essential Tools for Removing Bubbles from Screen Protectors
Before you start removing bubbles from your screen protector, it’s essential to gather the right tools. While many items can be improvised, having the proper tools will make the job easier and more effective. Here’s what you’ll need:
- Credit Card or Squeegee: These tools are excellent for pushing out bubbles. A credit card is often handy because it’s firm yet flexible enough to glide smoothly over the surface of the protector.
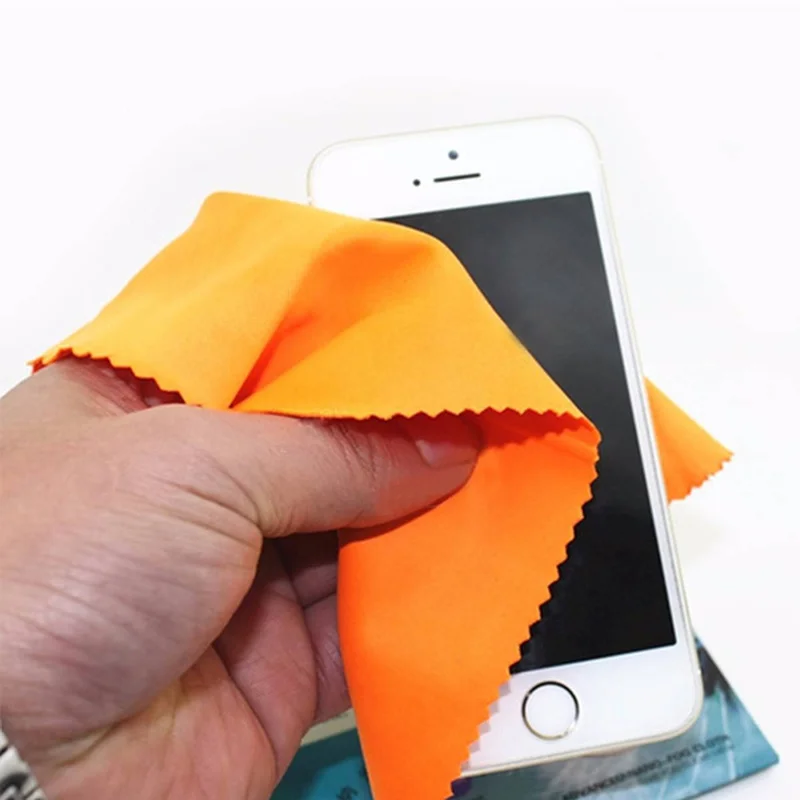
- Microfiber Cloth: This will help you clean your screen and remove any dust or debris before you start removing the bubbles.
- Scotch Tape: For stubborn bubbles near the edges, tape can help lift the screen protector slightly, allowing you to push the bubbles out more effectively.
- Dust Remover: If dust is the cause of the bubbles, a dust remover or even a piece of scotch tape can help lift the protector slightly to remove the dust particle.
Step-by-Step Guide to Remove Bubbles from Phone Screen Protector
Now that you have your tools ready, follow these steps to remove bubbles from your phone screen protector effectively:
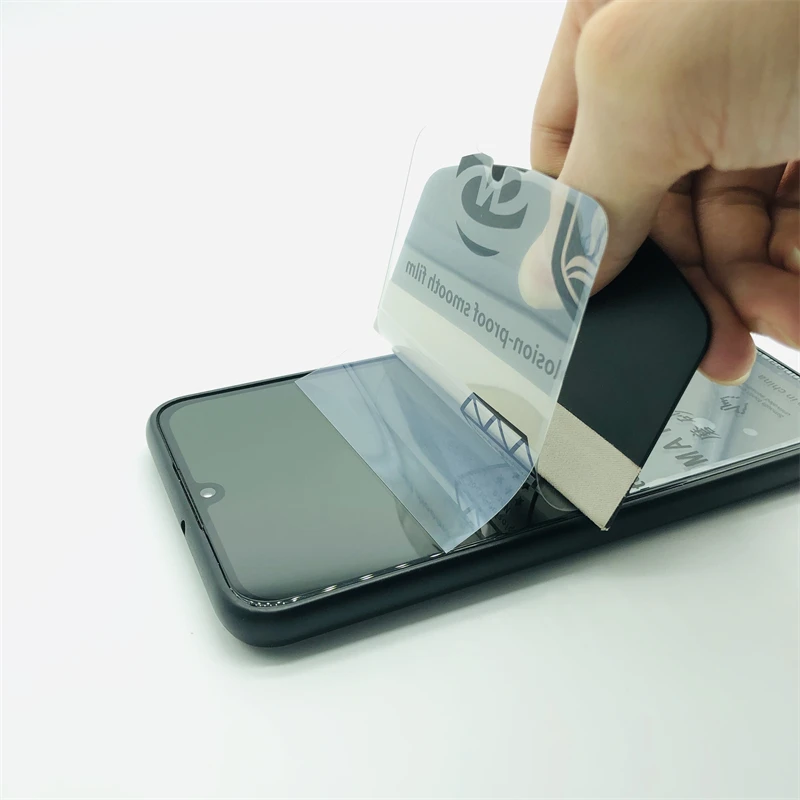
Step 1: Clean the Screen and Protector
Before addressing the bubbles, ensure that both the screen protector and your phone screen are as clean as possible. Use a microfiber cloth to gently wipe down the screen, removing any fingerprints, dust, or dirt. If necessary, use a screen cleaner designed for electronics. Ensure the screen is completely dry before proceeding.
Step 2: Apply Gentle Pressure with a Credit Card
Start by gently pressing down on the bubbles with a credit card or squeegee. Begin at the center of the bubble and push towards the edge of the screen protector. The goal is to gradually work the air out from under the protector. Be patient and use consistent, firm pressure to avoid damaging the screen protector.
Step 3: Use Tape for Stubborn Bubbles
For bubbles that are difficult to remove, particularly those near the edges, use a piece of scotch tape to lift the edge of the screen protector slightly. Once lifted, you can use the credit card to push the bubble out towards the edge, then carefully lay the protector back down.
Step 4: Repeat if Necessary
If you notice that some bubbles remain after the first attempt, don’t worry. Repeat the process as needed, applying pressure and using tape until all bubbles are removed.
Additional Tips for a Successful Screen Protector Application
Preventing bubbles from forming in the first place is always better than trying to remove them later. Here are some tips to help you apply a screen protector bubble-free:
- Work in a Dust-Free Environment: Choose a clean, dust-free area to apply your screen protector. Bathrooms can be a good choice because the steam from a hot shower can reduce airborne dust.
- Align Carefully: Take your time to align the screen protector perfectly before pressing it onto the screen. Misalignment is a common cause of bubbles, so ensure the protector is positioned correctly from the start.
- Use a Dust Removal Sticker: Many screen protectors come with a dust removal sticker, which can help you pick up any dust particles that settle on the screen during application.
- Apply Even Pressure: When applying the screen protector, start from one edge and slowly press it down, smoothing out any bubbles as you go. Avoid pressing down in the middle first, as this can trap air and create bubbles.
Dealing with Bubbles Caused by Dust or Debris
Sometimes, bubbles are caused by tiny dust particles or debris trapped between the screen and the protector. These can be more challenging to remove, as the dust creates a barrier that prevents the protector from lying flat against the screen. Here’s how to handle it:
- Lift the Screen Protector Gently: Use a piece of scotch tape to lift the edge of the screen protector where the bubble is located. Be careful not to lift it too much or too quickly, as this could cause more dust to get under the protector.
- Remove the Dust Particle: Once the protector is lifted, use another piece of tape or a dust removal sticker to carefully remove the dust particle from the screen or the protector.
- Reapply the Protector: After the dust is removed, gently lay the protector back down, starting from the edge closest to where you lifted it. Smooth out any bubbles as you go.
When to Consider Replacing Your Screen Protector
In some cases, despite your best efforts, bubbles may persist, or the screen protector may become damaged during the removal process.
If the protector is scratched, peeling, or has large bubbles that won’t budge, it might be time to consider replacing it.
A fresh screen protector will not only provide better protection but will also give your phone a cleaner, more professional appearance.
Choosing the Right Screen Protector
Selecting the right screen protector can significantly reduce the likelihood of bubbles forming. There are several types of screen protectors available, each with its own pros and cons:
- Tempered Glass Protectors: These are the most popular choice due to their durability and ease of application. They are less likely to bubble compared to plastic protectors.
- Plastic Film Protectors: While cheaper, these are more prone to bubbles and scratches. However, they can still provide adequate protection if applied correctly.
- Liquid Screen Protectors: These are applied as a liquid and harden on the screen. They are virtually bubble-proof but offer less protection against impact compared to tempered glass.
How to Prevent Bubbles When Reapplying a Screen Protector
If you need to reapply your screen protector, follow these steps to avoid bubbles:
- Clean Both Surfaces Thoroughly: Ensure both the phone screen and the protector are completely clean. Even a tiny speck of dust can cause bubbles.
- Apply in a Humid Environment: As mentioned earlier, applying the protector in a humid environment can help reduce the amount of dust in the air.
- Use the Right Tools: Use a credit card or a squeegee to apply even pressure across the protector as you reapply it. This will help push out any air pockets and prevent bubbles.
Maintaining a Bubble-Free Screen Protector
Once you’ve successfully removed the bubbles from your screen protector, it’s important to maintain its condition to prevent new bubbles from forming.
Avoid pressing too hard on the screen, especially near the edges, as this can cause the protector to lift and create new bubbles.
Regularly clean your phone’s screen with a microfiber cloth to remove any oils or debris that could affect the screen protector’s adhesion.
What to Do If Bubbles Reappear
If you notice new bubbles forming under your screen protector after a few days or weeks, don’t panic. Bubbles can reappear due to temperature changes, pressure on the screen, or gradual detachment of the protector. Simply repeat the steps outlined above to remove the new bubbles. If the bubbles persist or worsen, it may be time to replace the screen protector.
FAQs
How can I prevent bubbles from forming when applying a screen protector? To prevent bubbles, apply the protector in a clean, dust-free environment. Align the protector carefully before pressing it onto the screen, and use a credit card to smooth out any air pockets as you apply it.
Can bubbles under a screen protector damage my phone’s screen? Bubbles themselves won’t damage your phone’s screen, but they can affect the touch sensitivity and make it difficult to see the display clearly. Over time, trapped dust or dirt in the bubbles can scratch the screen.
Is it possible to remove bubbles from an old screen protector? Yes, you can remove bubbles from an old screen protector using the same techniques as for a new one. However, if the protector has been on the phone for a long time or is damaged, it may be better to replace it.
What tools do I need to remove bubbles from a screen protector? You’ll need a credit card or squeegee, a microfiber cloth, scotch tape, and possibly a dust remover or dust removal sticker to effectively remove bubbles from your screen protector.
Should I replace my screen protector if I can’t remove all the bubbles? If you can’t remove all the bubbles and they interfere with your phone’s usability or appearance, it’s a good idea to replace the screen protector. A new protector will give you a fresh start and better protection.
Are liquid screen protectors less prone to bubbles? Liquid screen protectors are less prone to bubbles because they are applied as a liquid and harden on the screen. However, they offer less impact protection compared to tempered glass protectors.
Conclusion
Removing bubbles from a phone screen protector is a simple yet essential task to ensure your device looks and functions its best.
With the right tools and techniques, you can easily achieve a smooth, bubble-free finish that enhances your phone’s appearance and usability.
Remember, the key to a successful application is patience and precision. By following the steps outlined in this guide, you’ll be able to remove bubbles from your screen protector like a pro and enjoy a crystal-clear display.